The additional treatment of the metal surface is very often required by our customers. Whether it is a mechanical aspect where application of additional surface treatment can obtain more beneficial attributes in special cases of material. Or also an aesthetic aspect in case where the component is used as visible for the end user or customer. Within our own capacities we offer two types of treatment, grinding and polishing. For other types of surface finishes, we are using our subcontractors — more here.
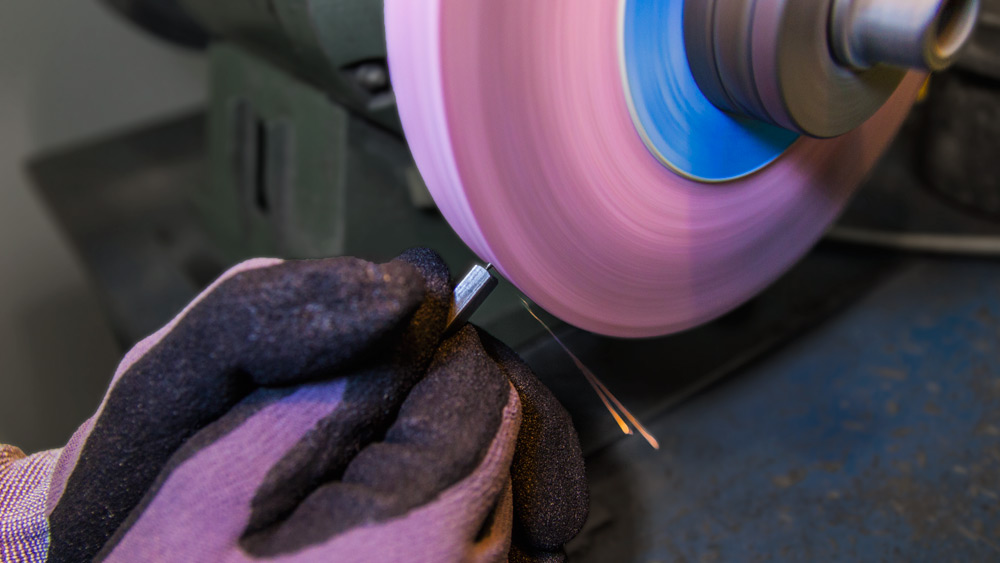
By grinding we achieve the desired roughness quality of the final surfaces on the workpiece. We provide flat grinding using tool grinders or flat-surface magnetic grinder which we use to obtain high accuracy. The final workpiece is passing through the final quality control and it is tested with special surface roughness tester to secure required roughness.
For perfect and high gloss surface is necessary to polish the product on flap discs using a polishing paste. This method should be chosen for the visible parts or e.g. as the following step after a different surface treatment (like induction hardening) because the part will obtain not even better attributes but also very unsighting look..

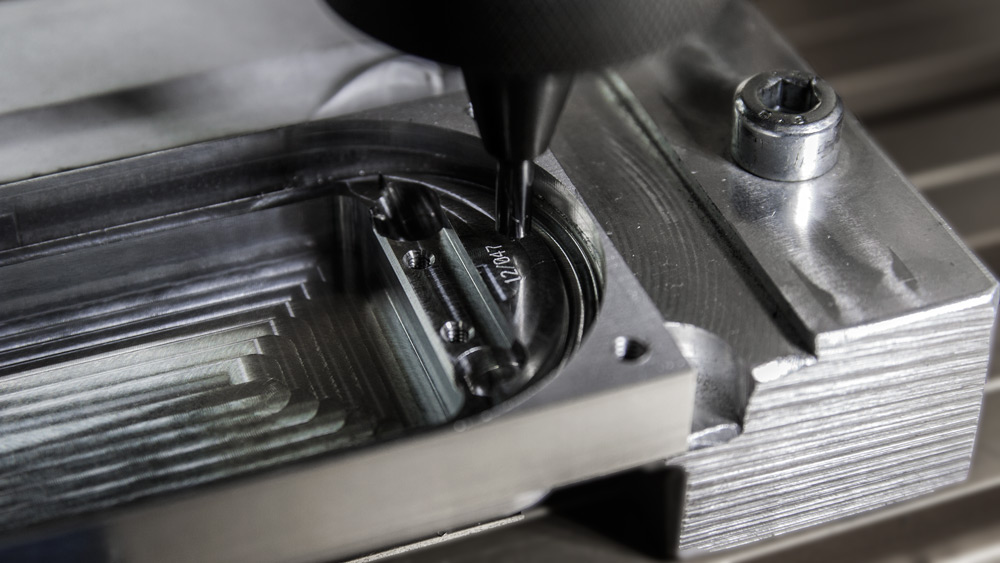
You can use mechanical engraving of numbers and letters onto the final product for traceability or identification of the piece. The purpose of this modification is to uniquely mark the component e.g. for future assembly most often with number of the component taken from the drawing documentation. This makes possible to ensure the organization and maintenance within your or externally used assembly shop and also avoid frequent mistakes associated with improper storage system.
There is also an option of engraving a unique number e.g. in the form — serial number/production series number. Our most demanding customers which are requiring a one hundred percent quality control also often use the possibility of a unique number on the component which is closely linked to unique measurement protocol either from standard quality control or from coordinate measuring centre.
For small and medium-sized parts we use a micro-impact marking machine Technomark Multi4 120 which ensures perfect accuracy of engraved symbols. Parts not fulfilling the input parameters of the marking machine board are marked directly in the production on the CNC milling centre.

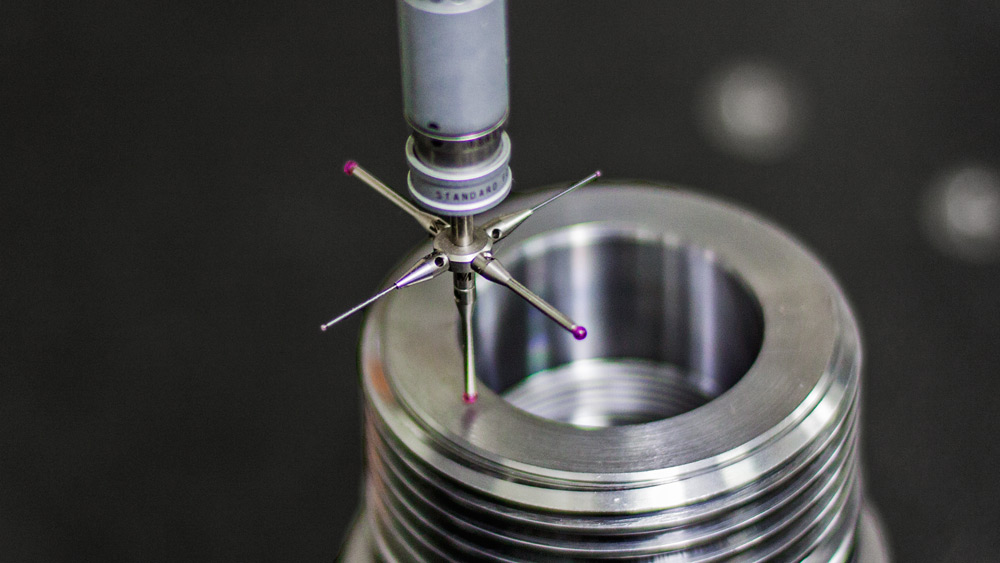
Measuring the parts with use of the coordinate measuring machine is one of the best techniques for achieving the perfect accuracy of the quality control. Nowadays when demands on quality, durability and output tolerances are increasing, this technique is an absolute necessity. The measurement is performed by a programmer in a specialized software that provides wide diversity in setting of the required values. As part of the running program, the centre can simultaneously measure very complex parts in three mutually perpendicular axes so the length, surface and space can be measured by a considerably accelerated process.
A measurement protocol is produced from each measurement which can serve as a basis for the standard quality control. In the case of above-standard quality control, each protocol created is assigned to the particular part, ideally in combination with a unique engraved marking because in this case is protocol also numerically linked to a particular part.
For 3D measurement method we are equipped with the Mitutoyo CRYSTA – Apex 500 S measurement coordinate machine.

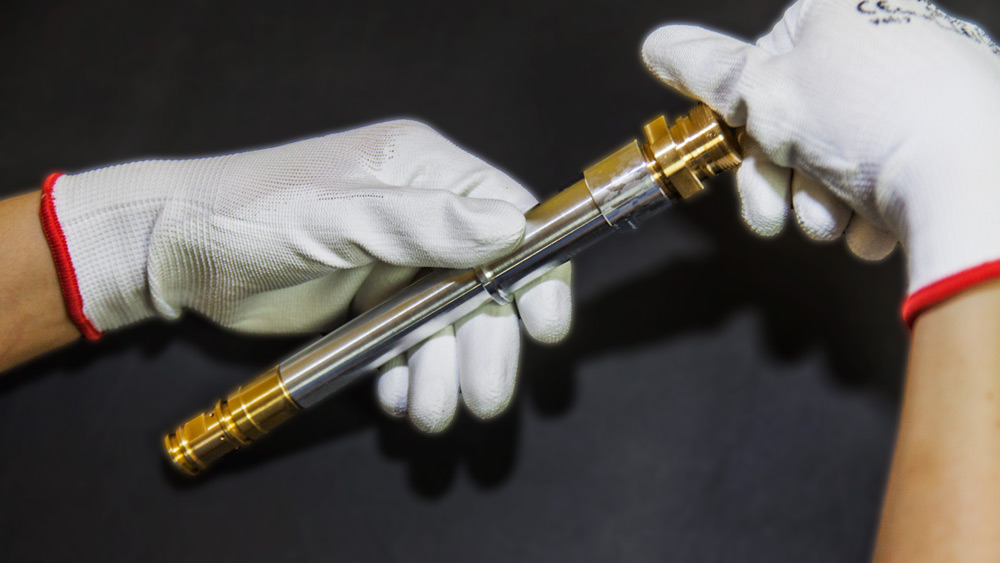
One of the most frequently used additional services which we provide within our own capacities following the production process is the assembly of components into the final assemblies. This service is provided by our qualified staff who have many years of experience in solving any difficulties that may arise during assembly. We always pay attention to the individual requirements of our customer and we are also able to produce or provide special assembly tools or assembly jigs.
For simple assemblies consisting of two or three parts is particularly beneficial to ensure the 100% compatibility of components which can also be combined with simpler conditions of transport in some cases. Also, there is an option to send the opposite pieces of the manufactured parts to our company for assembly thereby allowing the customer to greatly reduce the necessity of their own quality control.
In the production facility we have established a specialised assembly workplace for very complex safety lock inserts, both electronic and mechanical type. Our worker have many years of experience in this industry, therefore the assembly is limited to us only by the size of our premises but not by the complexity of the delivered assemblies.
